Exhaust rebuild pictures Click Here
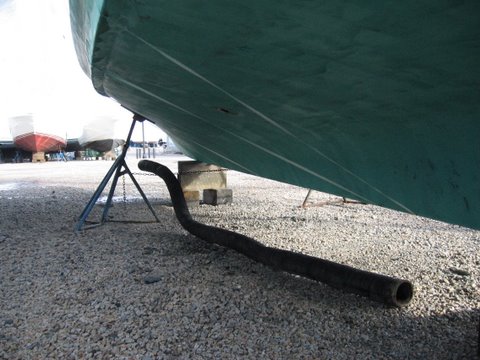
The old Perkins exhaust system consisted of a 4” rubber hose going from the exhaust elbow on the engine all the way to the exhaust flange. I needed to go to 6” hose and I also wanted to have a muffler and some sort of protective system against water backing up and getting into the engine. At first I thought I would use a “surge tube” but the one I got would not line up no matter what I did. I also looked into a water lift muffler but could not find a way to meet the requirement that the top of the muffler had to be at least 12” below the lowest point of the exhaust elbow.
I must admit the Mainship 34 seems to lie right in the middle of deciding on a water lifter muffler or regular. When building the system I found it difficult to keep a good pitch going toward the stern exhaust flange, this is indicative of an engine thats sitting low. The lower you are, the more the water lift is what you need. I can't say as of this writing that I regret not going with the water lift, but while building the system it sure crossed my mind a few times as I was not overly pleased with the amount of pitch available.
So, I decided on a check valve. This will mean the system would be; Engine, hose, muffler, hose, check valve, hose, exhaust flange.
Old Exhaust System - Thats All of It
Send the 8 year old in?
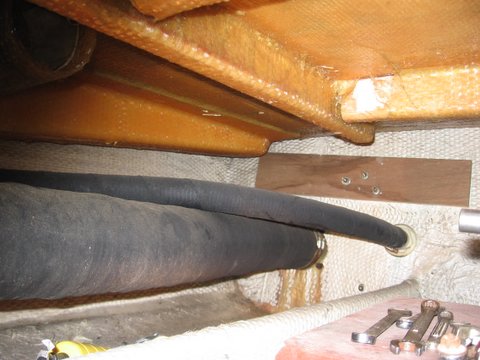
Biggest issue with this was getting at it. These pictures don't do it justice but it is TIGHT back there. I wasn't sure I could actually get back there, and then if I did I was genuinely concerned I might get stuck.
I thought about recruiting my 8 year old son and sending him in there.
Here he is when I started to explain what I wanted him to do; "now take these wrenches, and then crawl wayyy back there...."
But then I figured I would have to pay for twenty years of therapy if he got stuck. He doesn't even like the dark or being alone, and I could tell he wasn't crazy about the whole thing, so I discarded that idea.

Try and think Small
I finally mustered up the courage to crawl back there. I actually had to go all the way around on the other side of the rudder post (port side of the boat)and crawl along the transom, to get to the hose (starboard side).
I placed my phone nearby in case I did get stuck, I figured I could call the fire department. Boy they would have been laughing at the bar about that one for years to come. Luckily I did not get stuck but I can say if it was the tiniest bit smaller there I would have.
Once I got back there I removed the hose clamps and to my delight the hose was reasonably free from the flange (i.e. not fused on there from 10 years of high temperatures). I was able to wiggle the hose back just a bit, and backed off the two nuts on the top. The bottom two interestingly enough both snapped off, which I didn't really mind; the nuts were off.
Exhaust Outlet
New Flange
When I was finally able to extricate myself from the rear area I got into the engine bay and heaved and heaved and pulled out the exhaust hose. Sure enough there was still some exhaust water in there that splashed all over me, but my spirits were high as I tossed it over the side.
That hose basically represents the entire exhuast system (and I do believe its all original)
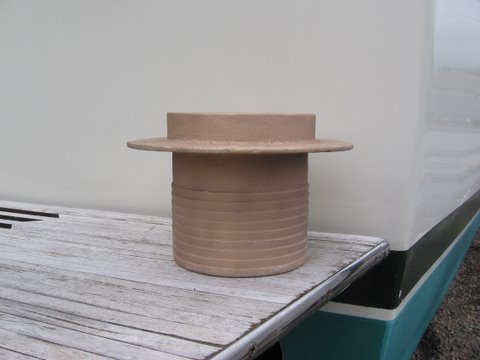
Next up was installing the new exhaust flange;
Tip! The upgrade to 6" everything on the exhuast made for long lead times on getting the parts. I have found that once you get past even 4" on exhuast parts none of the typical retail outlets stock what you need from clamps to hose to the flange. So, if you need 5" or 6" order your parts as soon as you know the size you need. I had some struggles and delays as I procrastinated a bit on ordering.
The flange ultimately came from here; http://www.buckalgonquin.com/ through a distributor.
Exhaust Flange
Exhaust system
Muffler
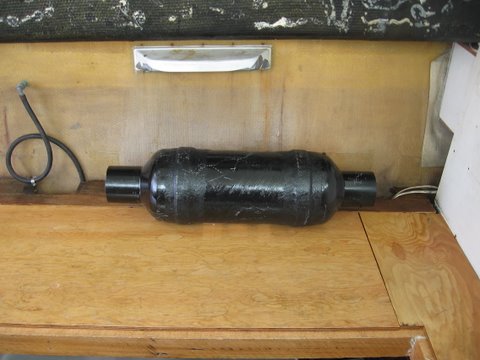
Check Valve
Here is the check valve and here is the company that made it; http://www.centekindustries.com/
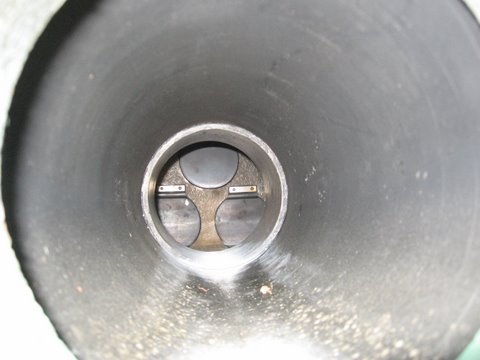
Here is a picture of the inside of the check valve. Basically its just some one way flaps to stop the water from backing up into the engine.
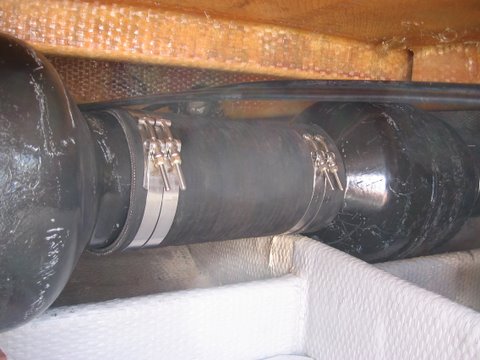
Here is the muffler I'm going to use. It's a lot bigger than I imagined, but thats been the story all around at 6".
Same company as the check valve; http://www.centekindustries.com/
When I built the system I started at the flange and worked my way to the engine. I'm not sure thats the best way to go, but it worked out fine. Here, I just need to cut the hose and attach it to the elbow.
Tip!
When I built the system I made the mistake of laying out the muffler and check valve and then building some supports to rest them on. This was a big mistake because when I went to put it all together the hose takes over quite a bit as far as how it all ends up. So, if I were to do the again I would have constructed the entire muffler system, and then gone through it looking for places it needed support, and then building them to what was needed. The supports I made all had to be adjusted.
