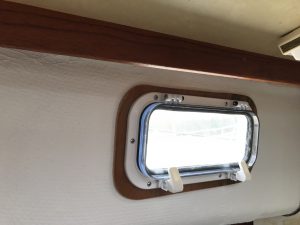
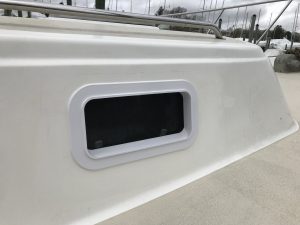
After suffering through years of leaks I finally took the plunge on replacing the 4 port lights.
Couple of quick notes;
I really wanted metal ports, but two things made me go with the Beckson's. With the difference in price I was able to buy a new forward hatch and a hot water heater. Also, the Becksons were an exact match and I mean exact. All of the cut outs and bolt holes were exactly the same - no drilling or trimming of the hull. I would have had to make some modifications with the metal.
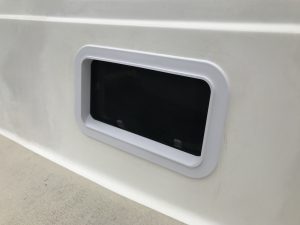
I went with the "Flush Mount" installation which means the bolt does not go through the trim ring. What was originally there was the "Standard Installation" where the bolt goes through the trim ring. Beckson says the flush mount is fine and I thought it looked better.
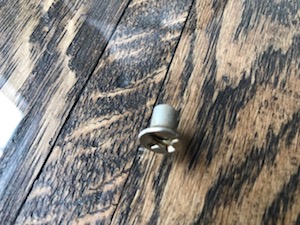
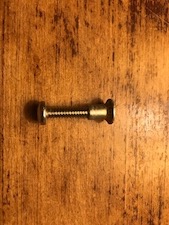
I could not find any barrel nuts that were shorter. Once I counter sunk them into the exterior of the cabin, they poked through the interior wall, so I made a trim ring. That was a bit of a pia but I really didn't have a choice. Whats interesting is the original installation had them going right over the monkey fur!
All in all not that bad of a job, but only time will tell. If they dont leak I'll be a happy camper, if they leak my poor wife will have to listen to me bitch, moan and complain that I should have gone with metal ones for many years to come.